
Cameraman Tower Defense
Cameraman Tower Defense Insane Guide: Clear All 50 Waves
How to clear Cameraman Tower Defense Insane mode: the 50-wave boss breakpoints, the cash order that keeps upgrades ahead of enemy scaling, and the two-unit team that wins solo.
Overview
Stats Table
| Breakpoint | What Shows Up | What It Demands |
|---|---|---|
| Wave 1 | Opening trash waves, ~50 cash | One cheap starter that scales, not three cheap starters |
| Wave 20 | Wave payouts jump to roughly 1,000 cash | Finish a carry before placing anything new |
| Wave 21 | First boss | A maxed unit, not several partially upgraded ones |
| Waves 35 and 40 | Larger bosses | Area damage that can actually finish shielded enemies |
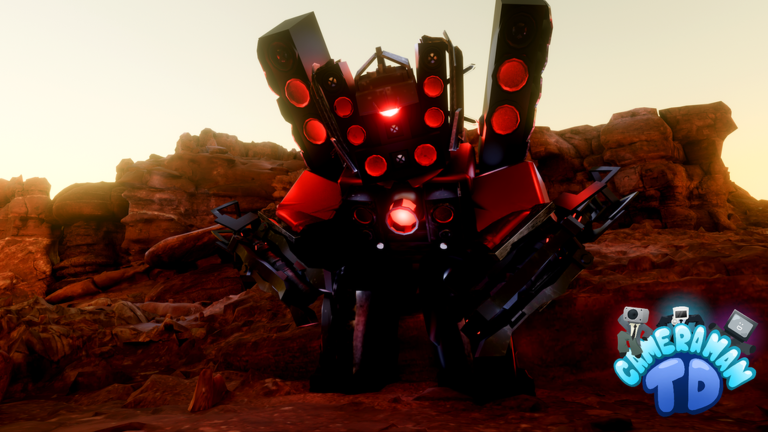
| Wave 49 | Infected Titan Speakerman, ~370,000 health | Full roster of carries, no filler slots |
| Wave 50 | Boss Toilet 3.0, ~1,080,000 health solo | Every slot a carry; duo doubles this health |
Guide Details
What Insane Mode Punishes
Source: Cameraman Tower Defense official Roblox experience page, checked October 11, 2026. The listing confirms the match structure this guide assumes: "Step on a platform to start a match! Place cameraman and powerful units to fight back against invading toilets! Beat waves to win." Insane is the top of four difficulty votes and runs 50 waves for 600 Coins.
Insane mode punishes one mistake more than any other: spreading cash across new placements instead of finishing the unit already on the map. Waves 1 through 19 are generous enough that a wide, shallow board survives them. Then the payouts jump, the bosses start arriving, and a board of six half-upgraded units loses to a board of two maxed carries every time.
The reason is structural. Most units in this game are defined by their final upgrade — for many, that last level doubles damage rather than adding a fraction of it. A unit sitting one upgrade short of max is not 90% of a carry; it is closer to half of one. Engineer Cameraman takes this to its extreme and deals no damage at all until its final level.
This guide is a spending order with checkpoints, not a roster recommendation. The roster matters less than the timing.
Editorial verification on October 11, 2026: This route was assembled from a recorded solo Insane clear of the Update 3 build published in October 2026, plus recorded boss and stat-card footage from the same build, cross-checked against the official Roblox listing for mode structure and payouts. No figures below are drawn from developer-published stat tables, because the developer publishes none; boss health and upgrade costs are read off in-match panels and are approximate.
Boss Breakpoints to Plan Around
Knowing when the bosses arrive is what turns cash decisions from reactive into planned. Every win reviewed for this guide happened on Toilet City, the map label that appears alongside Desert in the lobby.
| Wave | What appears | Health |
|---|---|---|
| ~21 | First boss | Not read |
| ~35 | Larger boss | Not read |
| ~40 | Larger boss | Not read |
| 49 | Infected Titan Speakerman | ~370,000 |
| 50 | Boss Toilet 3.0 | ~1,080,000 solo |
The wave 50 number is the one that should change how you spend. That health total is solo; bringing a partner doubles it, so a duo faces roughly 2,160,000. Playing with a friend makes the earlier waves more forgiving and the last wave harder, which is the opposite of the usual expectation.
A practical consequence: solo is the more reliable route to the clear if you have a carry worth stacking. If you do duo, decide before wave 45 whether to sell support units into more damage.
The Cash Order That Clears 50 Waves
Cash arrives slowly and then all at once. Wave 1 pays around 50 cash; from roughly wave 20, each cleared wave pays about 1,000. That curve means the early game is about surviving cheaply and the late game is about converting a flood of cash into finished upgrades.
The order:
- Open with one cheap scaling starter. Ninja Cameraman costs $200 to place and about $1,800 to max, and it holds the early waves without further spending.
- Max that starter before placing anything else. This is the step almost every failed run skips.
- Add economy as soon as wave payouts allow. Scientist Cameraman shows 500 cash per wave at max, and four placed copies return roughly 2,000 per wave — about double a late wave's own payout.
- Add area damage for the crowded waves. Single-target carries handle bosses; they do not handle a lane full of enemies.
- Swap, do not hoard. Removing a unit refunds half its placement cost, so trading a spent starter for a carry is not waste. It is the intended mid-game transition.
- Stop expanding around wave 48. With the final boss two waves out, new placements cannot be upgraded in time to matter.
The single highest-value habit here is step two. Two maxed carries beat six unfocused units, and the reason is the final-upgrade damage jump rather than raw unit quality.
The Cheapest Team That Wins
The cheapest documented Insane clear uses two units, both obtainable from the Basic Crate: Titan Cameraman and Ninja Cameraman.
The reported sequence is to open with Ninja Cameraman, then stack and max Titan Cameraman copies one at a time. Another documented cheap winner finished the run with nine maxed Titan Cameramen, which is the same idea taken to its conclusion — one unit type, fully upgraded, repeated.
This matches what the game itself implies. The Insane voting card recommends Legendary-or-better units, and both are Legendary with no Robux involved. You do not need a paid pack to clear the hardest content.
Two structural notes make this work. Titan Cameraman's final upgrade reportedly doubles its damage, and the Basic Crate rotates its featured units every 20 minutes, so waiting for Titan Cameraman to cycle in before spending in-match-crate currency is a real advantage rather than a superstition.
Where Insane Runs Fail
Most losses trace to four causes, and each has a specific correction.
| Symptom | Likely cause | Fix |
|---|---|---|
| Board looks strong but waves keep leaking | Many partially upgraded units | Sell down to two or three and finish them |
| Bosses survive at 20% health | Single-target damage only, no area coverage | Add area damage before wave 35, not after |
| Suddenly losing from a stable position around wave 40 | Support units still occupying slots | Refund them into damage; half the cost comes back |
| Shielded enemies walking through untouched | Area towers that cannot finish shielded targets | Swap to units reported to handle them |
| Late waves stall on cash | No economy unit placed | Two to four maxed Scientist Cameramans pay roughly 2,000 per wave |
The "shielded enemies" row is worth isolating. A recorded walkthrough reports an enemy type that some area-damage units cannot finish at all, naming Large TV Man and TV Man as failing against them, while Upgraded Titan Speakerman at max level, Titan Cinemaman, and Large Scientist Cameraman are reported to clear them. That claim comes from a single recording, so treat it as reported rather than settled — but if a lane is stalling while your board looks strong, it is the first explanation to test.
One more failure mode is not in the table because it is not fixable mid-run: entering Insane with a roster that has no Legendary carry at all. Run the mode on Hard first until you have one.
Solo or Duo on the Final Boss
Party size is the one setting that changes the run's shape without changing its early waves, which makes it easy to leave undecided until the finale is already lost.
The lobby platform holds up to five players, and the wave 50 boss scales with the party rather than with the difficulty card. Solo it carries roughly 1,080,000 health; with one partner that figure doubles to about 2,160,000. Waves 1 through 48 do not get meaningfully easier in exchange, so bringing a friend trades a slightly softer mid-game for a substantially harder ending.
Solo suits you if a single carry is already maxed, if you want the wave 48 auto-skip timing to stay predictable, or if your roster leans on one stacked unit type. Partnering suits you if neither of you has a finished carry yet, if you are still learning where the wave 21 and 35 bosses land, or if you simply want the queue to fill faster.
If you do run as a pair, decide before wave 45 whether either player is selling support into damage. Two half-built boards lose to the doubled finale far more often than one finished board does.
FAQ
Can you solo Insane in Cameraman Tower Defense?
Yes, and solo is often the better choice. The wave 50 boss has roughly 1,080,000 health alone and double that with a partner, so a duo does not make the final wave easier.
How many waves does Insane mode have?
Fifty, against 20 on Easy, 30 on Normal, and 35 on Hard. Only Insane is long enough for the late-game cash curve to matter.
What does an Insane win pay?
600 Coins on the voting card, which is 12 per wave and more than double what Easy pays per wave. A live double-Coin event raises that to 1,200, and recorded footage showed 1,800 with an additional coin product stacked.
Which map should I use for Insane?
Toilet City. Every winning run reviewed for this guide used it, and it is one of only two map labels that could be confirmed on screen in the lobby.
Do I need to spend Robux to clear Insane?
No. The cheapest documented clear used two Legendary units that both drop from the Basic Crate, and the mode's own voting card only asks for Legendary-rarity units.
Why did I lose with a full board?
Because a full board of unfinished units is weaker than a short board of maxed ones. Many units gain the majority of their damage on the final upgrade, so a slot one level short is worth substantially less than it appears.
Change Log
- 2026-10-11: Published with the boss-breakpoint table, the six-step cash order, the two-unit cheapest clear, and a failure-symptom matrix for the Update 3 build.
Related Pages
- Cameraman Tower Defense Wiki — Currencies, difficulty payouts, Update 3, and the five same-named games.
- Cameraman Tower Defense Units — The reconciled stat table behind every unit named here.
- Cameraman Tower Defense Codes — Where the Coins that fund your crate pulls come from.
- Anime Expeditions Beginner Roadmap — A progression guide that also sequences spending before power.