
K2 Climbing Simulation Controls (PC, Console & Mobile)
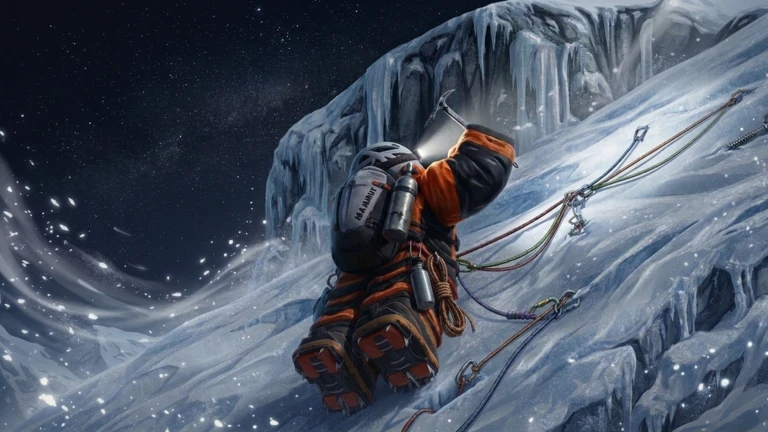
Master every control in K2 Climbing Simulation — from PC keyboard shortcuts and console button mapping to mobile touch interactions and camera optimization for safe summit attempts.
Controls Overview
| Stat | Value | Scaling |
|---|---|---|
| Platforms Covered | 3 | PC / Console / Mobile |
| PC Keybinds | 10+ | Essential actions |
| Console Buttons | 8+ | PlayStation & Xbox |
| Camera Modes | 3 | Third-person / Climbing / First-person |
| Last Verified | May 25, 2026 | Game version BETA |
Lore & Trivia
Overview
Precise control mastery is the foundation of every successful K2 ascent. K2 Climbing Simulation supports three input platforms — PC keyboard & mouse, console controller (PlayStation/Xbox), and mobile touch — with camera and interaction mechanics that vary significantly in effectiveness across different terrain types.
The game's official description emphasizes that optimal climbing requires using either the Climbing Camera (PC: Left CTRL) or first-person view. Standard third-person works for Base Camp and safe flats, but on narrow ridges, tunnels, and near-vertical walls, an obstructed camera is one of the most common causes of fatal falls.
Last verified: May 25, 2026. Controls reflect the current BETA build.
PC Keyboard & Mouse Controls
| Action | Input | When to Use |
|---|---|---|
| Movement | W A S D | General traversal on all terrain |
| Jump | Spacebar | Clearing small gaps and ledge pulls |
| Interact / Get Up | F | Interacting with objects and standing up after falls |
| Get Up (alternate) | G | Secondary recovery key if F is unresponsive |
| Climbing Camera | Left CTRL | Recommended for technical ridges and steep sections |
| Sprint | Left Shift | Safe flat ground only; drains stamina fast |
| Wipe Screen | C | During snow, blizzards, or moisture to restore visibility |
| Equip Pickaxe | 1 | Before ice wall and near-vertical rock sections |
| Climb (with Pickaxe) | LMB + RMB | Alternate clicks when climbing prompts appear on screen |
| First-Person Camera | Mouse Wheel (zoom in) | Alternative to climbing camera for tight spaces |
| Unlock Camera | Left CTRL | Toggle between standard and shift-lock third-person |
| Player Info / Rope Request | Click on player | Open teammate panel and request rope attach |
Mouse Controls
| Action | Input | Notes |
|---|---|---|
| Camera Look | Mouse movement | Standard free-look in third-person |
| Zoom | Mouse Wheel | Zoom in for first-person; zoom out for wider third-person |
| Climbing Strokes | LMB / RMB | Alternate when pickaxe climbing prompts appear |
Console Controls (PlayStation & Xbox)
| Action | PlayStation | Xbox | When to Use |
|---|---|---|---|
| Movement | Left Stick | Left Stick | General traversal |
| Camera Look | Right Stick | Right Stick | Free-look camera control |
| Jump | X | A | Small gaps and ledge pulls |
| Interact / Get Up | (contextual) | (contextual) | Object interaction and fall recovery |
| Climbing | L2 + R2 | LT + RT | Ice wall and near-vertical ascents |
| Sprint | L3 (press stick) | L3 (press stick) | Safe flat ground only |
| Wipe Screen | (contextual) | (contextual) | Weather visibility restoration |
| Player Info / Rope | (click player) | (click player) | Teammate rope attach requests |
Note: Console climbing uses
L2+R2on PlayStation andLT+RTon Xbox. Some contextual actions such as interact and wipe screen may be mapped to face buttons or shoulder buttons depending on the current interaction prompt displayed on screen.
Mobile Touch Controls
Mobile players use a virtual control layout typical of Roblox experiences:
| Action | Input | Notes |
|---|---|---|
| Movement | On-screen joystick (left) | Drag to walk; sensitivity varies by device |
| Camera Look | Drag on right side of screen | Swipe to rotate camera |
| Jump | Jump button (right) | Tap to jump |
| Sprint | Sprint toggle or hold | Usually a dedicated button near the joystick |
| Interact | Contextual prompt button | Appears when near interactable objects or fallen state |
| Wipe Screen | Contextual prompt button | Appears during weather effects |
| First-Person | Pinch-to-zoom or camera button | Zoom all the way in for first-person climbing |
| Rope Request | Tap on player + prompt | Tap another player, then tap the rope request prompt |
Mobile Tips
- Enable first-person for technical sections: Mobile third-person camera can be more obstructive than PC due to smaller screen size. Zooming to first-person often provides better spatial awareness on narrow ridges.
- Use a stylus or larger screen: Precision tapping for climbing strokes and player selection is easier on tablets or with a stylus.
- Disable auto-rotate: Lock screen orientation to prevent accidental camera swings during critical movements.
Camera Modes Explained
K2 Climbing Simulation offers three camera modes, and choosing the right one for each terrain type is critical:
Standard Third-Person (Default)
The default Roblox camera. Fine for Base Camp, gear shopping, and flat terrain. Not recommended for narrow ridges, tunnels, or near-vertical walls because the camera can swing unpredictably and block sight of footholds.
Climbing Camera (Shift Lock) — Recommended
Activated with Left CTRL on PC. This locks the camera behind your character in a fixed third-person perspective, similar to shift-lock mode in other Roblox experiences. Benefits:
- Camera does not swing freely — it stays aligned with your movement direction
- Better depth perception for judging ledge distances
- More consistent spatial awareness on exposed ridges
- Easier to maintain a straight line during sprints on safe terrain
Best for: Ridge traverses, tunnel climbing, ice field crossings, and any section where precise footing matters.
First-Person View — Recommended for Tight Spaces
Activated by zooming all the way in with the mouse wheel (PC) or pinch-to-zoom (mobile). Benefits:
- Zero camera obstruction — what you see is exactly where your character is looking
- Easier to align with narrow paths and small footholds
- Better judge of vertical distances on near-vertical walls
- Immersive; helps with timing jumps and ledge grabs
Best for: Tunnel sections, near-vertical walls, final summit ridge, and any section where the third-person camera model clips through terrain.
Action Priority During Gameplay
Different situations demand different control combinations. Here is the recommended input priority for common scenarios:
| Scenario | Recommended Setup | Key Actions |
|---|---|---|
| Base Camp prep | Standard third-person | Test F, Left CTRL, Shift, C; buy gear; refill oxygen |
| Early ridge ascent | Climbing Camera (Left CTRL) | Walk, don't sprint; follow red lights |
| Blizzard / low visibility | Climbing Camera + frequent C | Wipe screen before every jump; slow to walking pace |
| Tunnel climbing | First-person | Zoom in fully; small, deliberate movements |
| Near-vertical wall | First-person + Pickaxe (1, LMB/RMB) | Alternate clicks steadily; never rush strokes |
| Sprint on safe flat | Climbing Camera (Left CTRL) | Short burst with Shift; release before terrain changes |
| Team ridge crossing | Climbing Camera | Click teammate → request rope before the ridge |
| Fall recovery | Any camera | Press F (or G) immediately; assess position before moving |
Common Control Mistakes
| Mistake | Why It Happens | Fix |
|---|---|---|
| Forgetting to switch camera | Default third-person feels comfortable | Switch to climbing camera (Left CTRL) before leaving Base Camp |
| Sprinting on ridges | Shift is muscle memory from other games | Only sprint on confirmed flat, safe ground |
| Ignoring wipe screen | C seems minor until you are blind | Press C proactively during any snowfall or moisture |
| Delayed fall recovery | Panic after slipping | F is your first reflex — practice it at Base Camp |
| Rope request too late | Clicking teammate after falling | Send rope requests before entering danger zones |
| Wrong camera for walls | Climbing camera still leaves character model visible | Switch to first-person on tight vertical sections |
Change Log
- 2026-05-25: Page created. Added PC keyboard & mouse, console (PlayStation/Xbox), and mobile touch controls. Included camera mode explanations, action priority table, and common mistakes.
Discussion
Sign in to join the discussion.